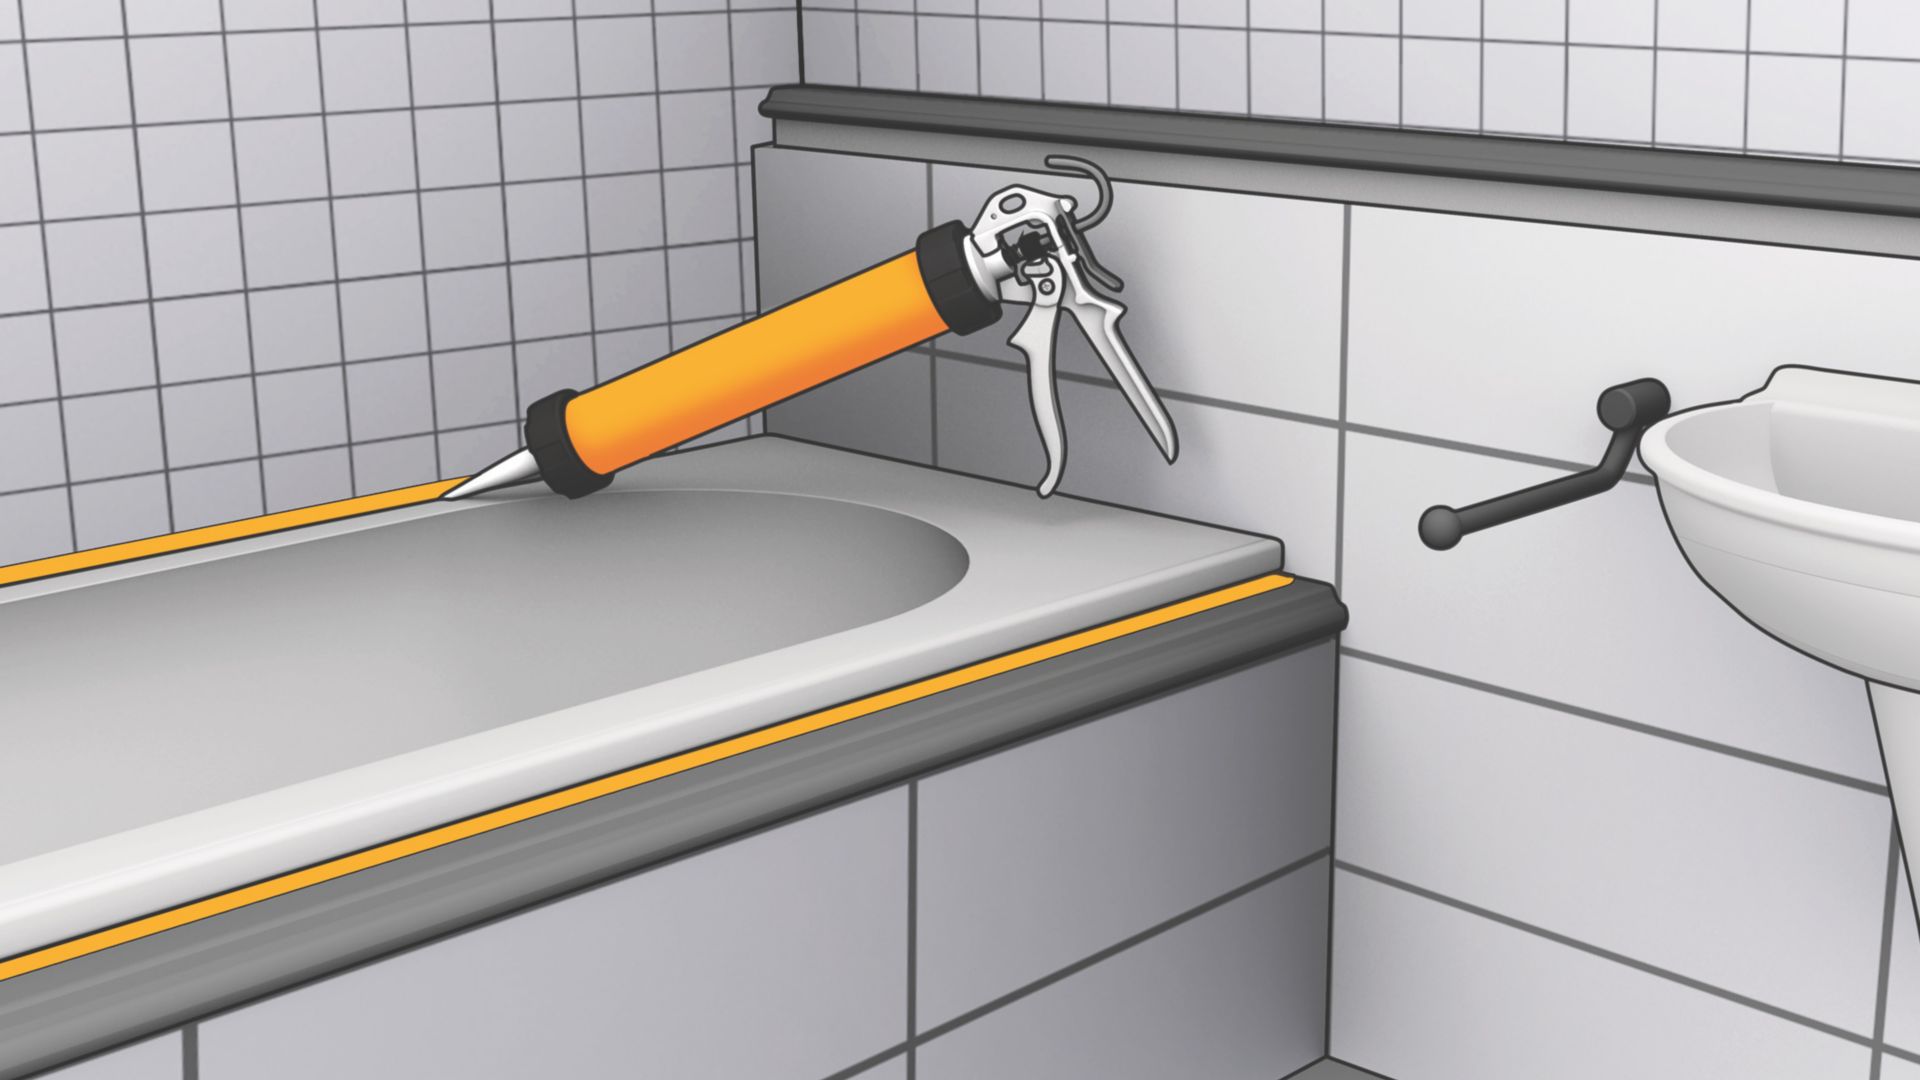
Whether you are building a new bathroom or repairing an old bathroom, a quality sanitary silicone sealant is the product to use to ensure that you only have to do the job once.
What you will need
- Sika® Sanisil®
- Bowl of water mixed with some dishwashing liquid
- Dry cloth
- Masking tape
- Caulking gun
- Stanley knife
- Sika Scraper & Smoother tool / Small spatula
- Gloves
Product Information
Colours: White, Clear, Black, Brown & Grey
Step 1
If there is existing silicone, remove it completely by using a sharp stanley knife or Sika® Scraper & Smoother.
Step 2
Clean and remove any mould from the joint and wipe through joint with a cloth lightly moistened with methylated spirits and then wipe the joint surfaces again with a dry cloth to remove any moisture from the surface or in the joint. Ensure all surfaces are now clean, dry and free from dust, grease and loose materials before starting the sealing application
Step 3
Apply masking tape to both sides of the joint. This provides a neat finish to the seal and makes it easier to clean once the silicone has been applied. Tip: Apply a primer if necessary. Should you need more information on whether a primer is required, contact Sika Customer Service.
Step 4
Following the instructions on the cartridge, cut the cartridge seal and nozzle and place the cartridge into a suitable caulking gun. Hold the gun at 45° angle with nozzle in contact with both joint surfaces and gun Sika Sanisil into the joint. If covering a large area, be sure to work in sections that you can complete before the silicone starts to skin.
Step 5
Before the silicone skins, smooth off with a small spatula or Sika Scraper & Smoother and then finish the seal by wetting your finger with some water that's been mixed with a small amount of dishwashing liquid (1 part dishwashing liquid with 10 parts water) and run it along the freshly applied sealant towards you, forcing the silicone into the corner gap and smoothing the silicone surface as you go. Remove any excess sealant immediately with a cloth dampened in mineral turpentine.
Step 6
Once the silicone has the smooth finish you’re looking for, remove the masking tape and lightly run your soapy water coated finger over the sealant to remove any sealant edges left when the tape was removed. Allow 48hrs to completely cure.

